如何使用HEXO快速搭建个人博客
基于 Hexo + Fluid 主题的博客开发指南
本指南将详细介绍如何使用 Hexo 静态博客框架搭配 Fluid 主题搭建一个美观、功能丰富的个人博客,并部署到 GitHub Pages。
1. 环境准备
1.1 安装 Node.js
Hexo 基于 Node.js,需先安装:
• Windows/macOS:从 Node.js 官网 下载 LTS 版本安装。
• Linux:
1 | |
验证安装:
1 | |
1.2 安装 Git
Hexo 依赖 Git 管理文章和部署:
• Windows/macOS:从 Git 官网 下载安装。
• Linux:
1 | |
验证安装:
1 | |
1.3 安装 Hexo
全局安装 Hexo:
1 | |
验证安装:
1 | |
2. 初始化 Hexo 博客
2.1 创建博客项目
1 | |
2.2 启动本地服务器
1 | |
访问 http://localhost:4000 查看默认博客。
3. 安装 Fluid 主题
3.1 下载 Fluid
在博客目录下执行:
1 | |
3.2 配置 Fluid
修改
_config.yml(Hexo 主配置):1
theme: fluid # 指定主题创建
_config.fluid.yml(Fluid 主题配置):1
cp node_modules/hexo-theme-fluid/_config.yml _config.fluid.yml然后编辑
_config.fluid.yml自定义主题样式。
3.3 启用 Fluid
1 | |
访问 http://localhost:4000 查看 Fluid 主题效果。
4. 配置 Fluid 主题
4.1 基本配置
修改 _config.fluid.yml:
1 | |
4.2 代码高亮
Hexo 默认使用 highlight.js,Fluid 支持更美观的代码样式:
1 | |
4.3 评论系统
Fluid 支持多种评论插件,如 Valine、Gitalk:
1 | |
4.4 搜索功能
安装 hexo-generator-search:
1 | |
配置 _config.yml:
1 | |
5. 编写文章
5.1 创建新文章
1 | |
文件位于 source/_posts/hello-world.md。
5.2 Markdown 语法
1 | |
图片
使用:! [] ()加载图片,[]内填图片名称,()填对应路径,注意图片路径可以相对可以绝对。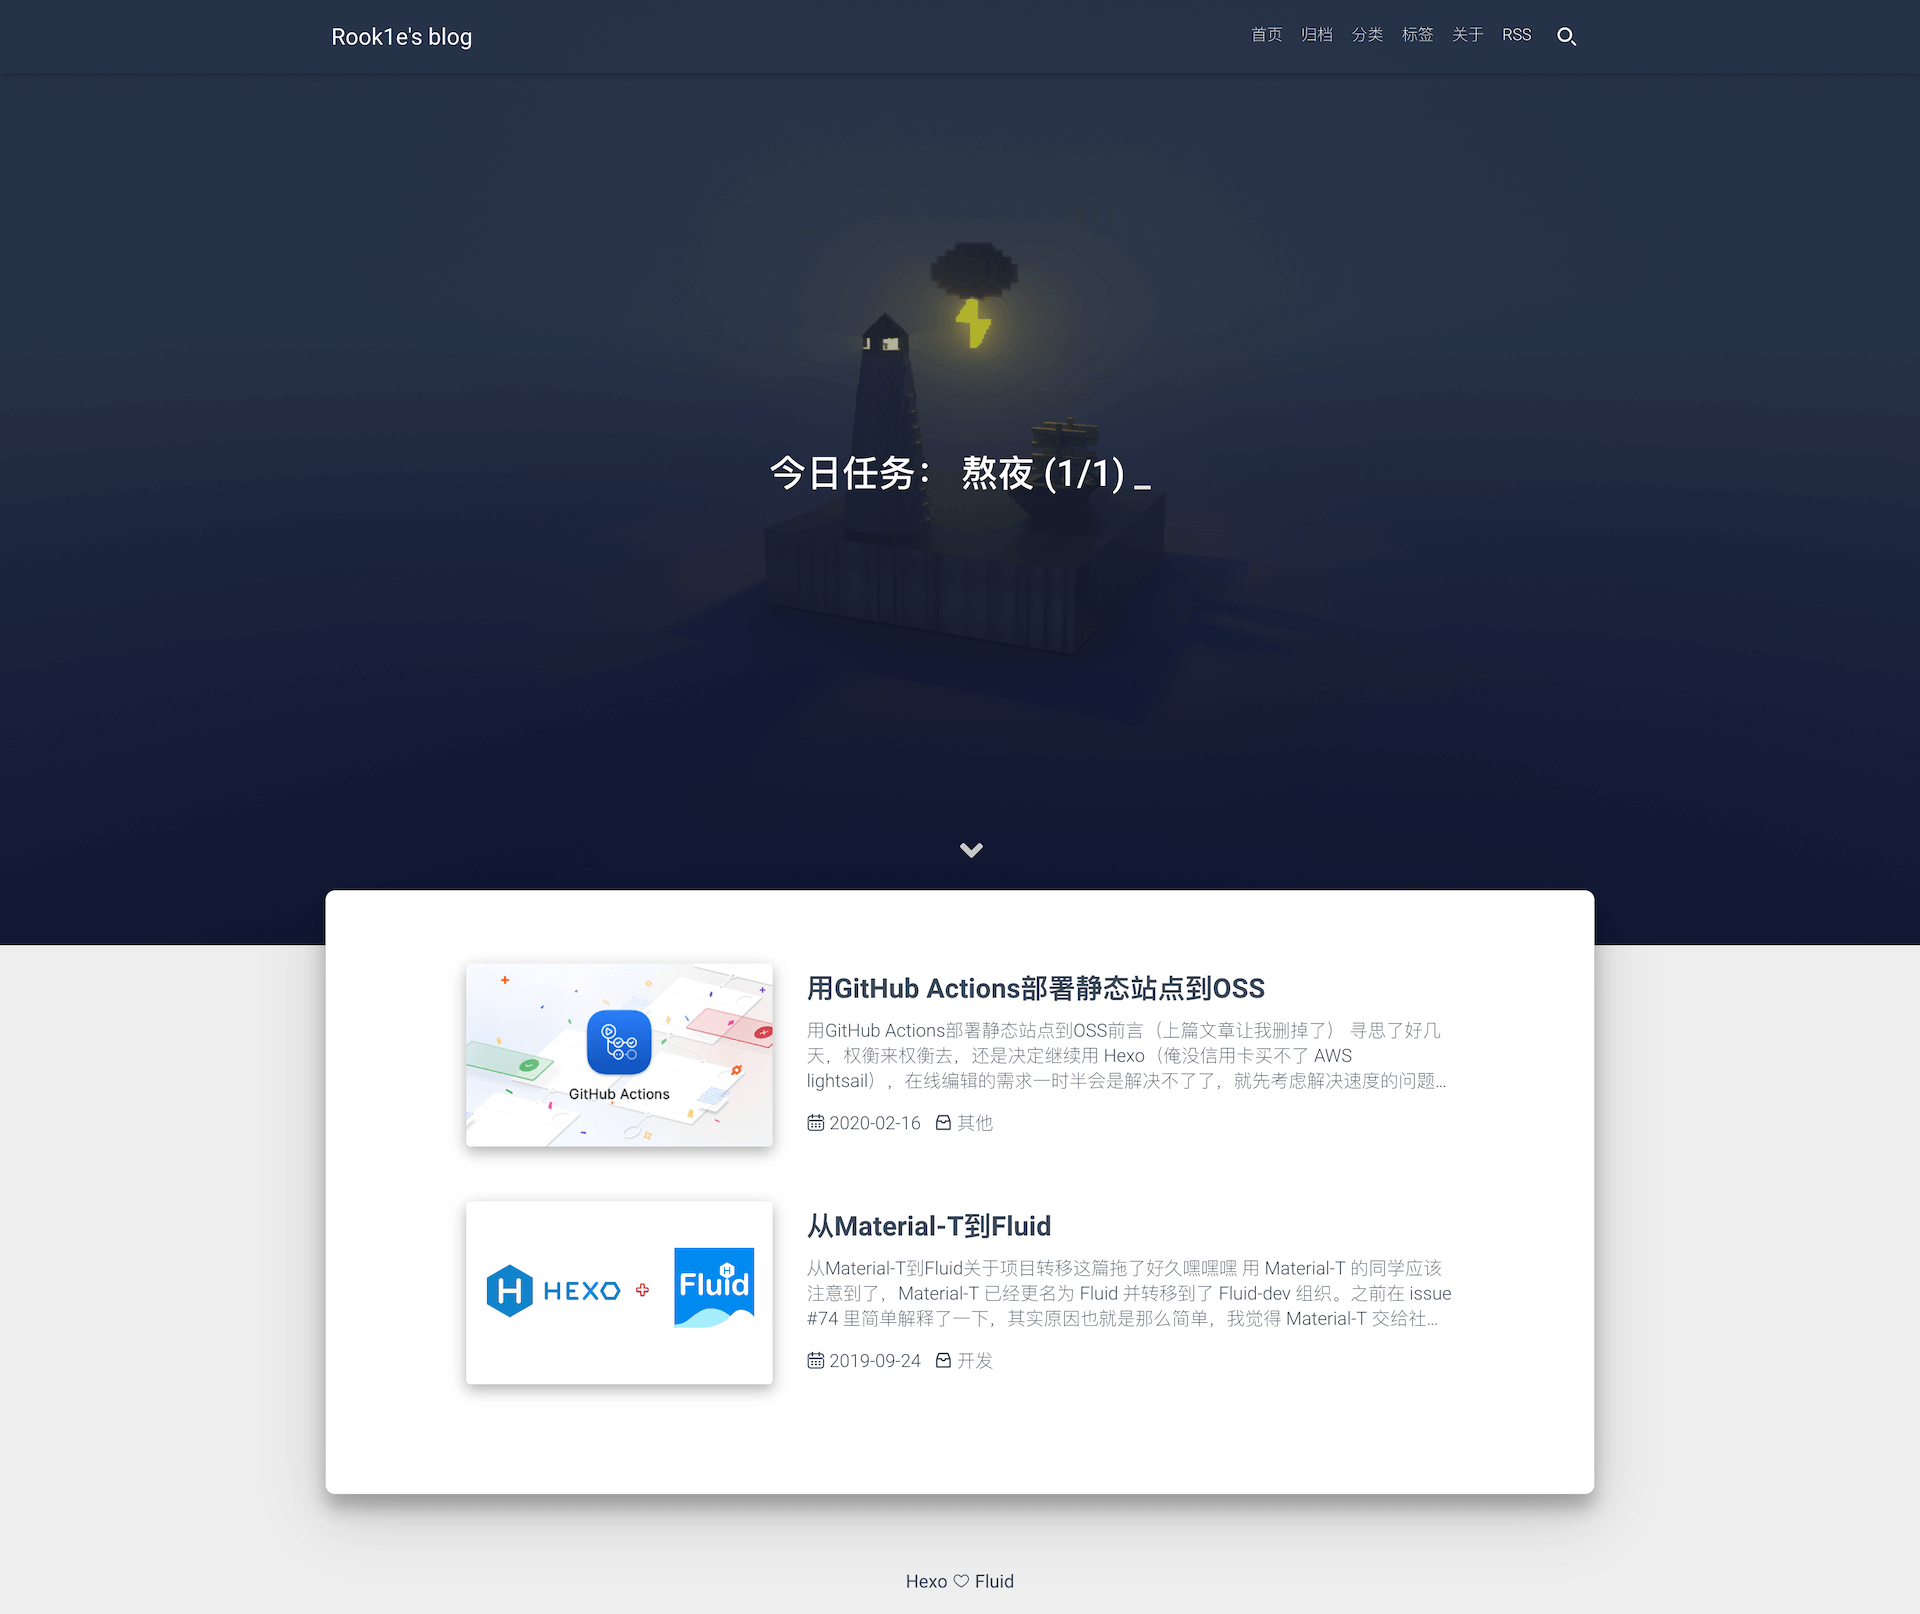
6. 部署到 GitHub Pages
6.1 创建 GitHub 仓库
- 在 GitHub 创建仓库
username.github.io(如yourname.github.io)。 - 本地初始化 Git:
1
2git init
git remote add origin https://github.com/yourname/yourname.github.io.git
6.2 安装部署插件
1 | |
6.3 配置 _config.yml
1 | |
6.4 部署
1 | |
访问 https://yourname.github.io 查看博客。
7. 进阶优化
7.1 自定义 CSS
在 source/css/custom.css 添加:
1 | |
然后在 _config.fluid.yml 引入:
1 | |
7.2 添加 Google Analytics
1 | |
7.3 使用 CDN 加速
1 | |
8. 常见问题
Q1: 页面样式不生效?
• 执行 hexo clean && hexo g 重新生成。
• 检查 _config.fluid.yml 是否正确配置。
Q2: 部署失败?
• 确保 GitHub 仓库权限正确。
• 检查 _config.yml 的 deploy 配置。
Q3: 如何更换主题颜色?
修改 _config.fluid.yml:
1 | |
9. 总结
通过本指南,你可以快速搭建一个基于 Hexo + Fluid 的高颜值博客,并部署到 GitHub Pages。
🚀 Happy Blogging! 🚀